
How Can I Combine TV Wall Mounting, Pressure Washing, and Custom Home Fixes Into One Efficient Project?
I’ve spent years turning small fixes into full‑scale projects that save time, money, and headaches. When the walls of your living room need a fresh coat, the TV is ready to be mounted, and the exterior could use a pressure wash, it’s tempting to tackle each task separately. Coordinating these efforts with experienced home repair specialists and comprehensive handyman services creates a smoother workflow and better results.
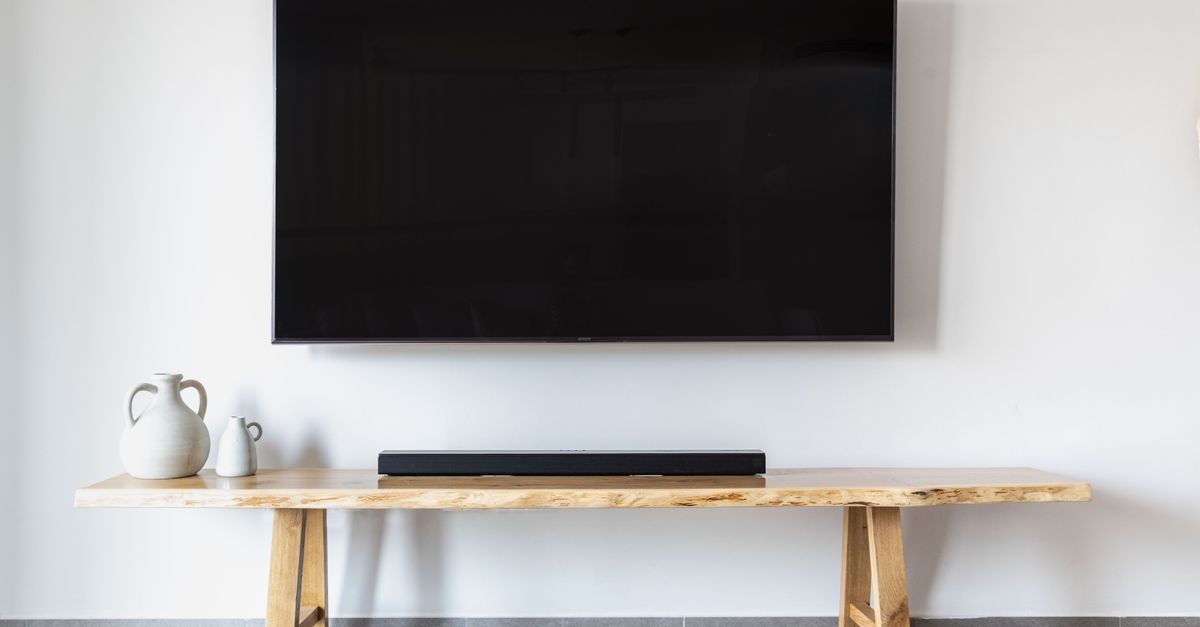
Choosing the Right TV Wall Mounting System
The first step is picking a mount that fits your wall type, TV size, and viewing preferences. A poor choice can lead to damage or a sub‑optimal angle.
Key Factors to Evaluate When Selecting a Mount
- Wall Material: Drywall needs anchors; studs provide solid support; masonry requires specialized bolts.
- TV Weight and Size: Check the manufacturer’s weight limit against your TV’s actual weight.
- Mount Type: Fixed, tilting, or full‑motion suits different room layouts and flexibility needs.
- VESA Compatibility: The VESA standard specifies the mounting hole pattern; match it to avoid misalignment.
- Aesthetic Considerations: Low‑profile or recessed mounts give a clean look.
I’ve mounted over fifty TVs in residential and commercial settings. Ignoring the VESA standard is the most common mistake, forcing a redo. Double‑check measurements before buying.
Consider how your TV sits relative to furniture and natural light. A fixed mount keeps the screen at eye level for all seats; a tilting mount works if the TV sits high or near windows that cause glare. Use a stud finder to confirm anchoring into solid wood rather than drywall, reducing future failure risk.
After securing the mount, plan cable management. Many mounts include channels for power and HDMI cords—using them keeps the wall neat and protects cables from accidental pulls. With a full‑motion mount, ensure the swivel range doesn’t interfere with outlets or furniture.
Preparing Your Space for Pressure Washing
Pressure washing cleans exterior surfaces, removes mildew, and prepares walls for paint or siding repairs. If you plan to do this after mounting your TV, consider the sequence carefully.
Steps to Safely Prepare for a Pressure Wash
- Clear the Area: Remove furniture, plants, and items that could be damaged by high‑pressure water.
- Seal Electronics: Wrap your TV and equipment with plastic or waterproof covers to protect them from splashes.
- Select the Right Pressure Setting: Use a lower PSI (around 1500–2000) for siding, higher PSI (2500+) for brick or stone.
- Choose Appropriate Nozzle: A 15° nozzle covers efficiently without splashing; a 5° is more focused but can damage surfaces.
- Test on a Small Area: Verify that the pressure doesn’t strip paint or cause erosion before proceeding.
Check local weather forecasts; you’ll want at least 24 hours of clear skies to allow surfaces to dry fully after washing. Wear protective eyewear and gloves—high‑pressure jets can be hazardous if they hit exposed skin. If your exterior walls have decorative trim or delicate paintwork, consider a low‑speed brush attachment instead of a straight nozzle.
Custom Home Fixes: When DIY Falls Short
After mounting your TV and cleaning the walls, you’ll likely notice cracks, uneven surfaces, or other issues that require more than a paint job. Custom home fixes address these problems precisely.
Common Custom Fixes for Interior Walls
- Patch Large Cracks: Use joint compound and mesh reinforcement for structural integrity.
- Level Uneven Surfaces: Apply a self‑leveling underlayment before priming.
- Repair Moisture Damage: Remove damaged drywall, treat with mold inhibitor, then reinstall.
- Reinforce Load‑Bearing Walls: Add studs or braces if you plan to mount heavy fixtures.
- Install Trim and Baseboards: Finish the look after all repairs are complete.
Start by clearing any loose debris or peeling paint so the new compound can adhere properly. For deep cracks, insert fiberglass mesh before applying joint compound; this distributes tension and reduces future fissures. After sanding smooth, apply a primer that seals pores—this helps the final paint layer adhere evenly.
If you’re dealing with moisture‑damaged drywall, address the source first. Inspect for hidden leaks behind the wall or in adjacent plumbing; repairing these before re‑drying prevents mold from returning and ensures a durable repair.
Hiring Experienced Home Repair Specialists
While DIY can be rewarding, some tasks demand specialized knowledge. Experienced home repair specialists bring expertise that ensures quality and safety.
Benefits of Working with Professionals
- Accurate Assessments: They spot hidden issues like electrical wiring or plumbing leaks before they become costly.
- Access to Quality Materials: Specialists use industry‑grade products that last longer than budget options. Key takeaway: A professional’s eye can prevent future headaches, saving you money in the long run.
- Compliance with Building Codes: Ensures all work meets local regulations and passes inspections.
- Time Efficiency: Faster completion reduces disruption to your daily routine.
When selecting a specialist, look for certifications, positive reviews, and a portfolio of similar projects. Ask for references or before/after photos. A reputable contractor will also provide a detailed estimate that breaks down labor, materials, and any potential contingency costs—this transparency helps avoid surprise expenses.
Comprehensive Handyman Services: The One‑Stop Solution
If your project spans multiple disciplines—TV mounting, pressure washing, wall repairs—a comprehensive handyman service can handle all phases under one roof.
What a Full‑Service Handyman Should Offer
- Project Planning: Detailed timeline and material list to avoid last‑minute surprises.
- Integrated Scheduling: Coordinate tasks so that, for example, pressure washing is done after TV installation but before painting.
- Quality Control Checks: Inspect each step to ensure standards are met.
- Warranty and Support: Provide post‑completion assistance or repair guarantees.
- Transparent Pricing: Itemized costs with no hidden fees.
A seasoned handyperson keeps you informed through regular progress photos—this visual feedback lets you track how each task moves toward completion. They’ll also conduct a final walkthrough with you, verifying that every detail meets your expectations before signing off.
Integrating Multiple Services for a Cohesive Home Upgrade
The real value comes when all elements—TV wall mounting, pressure washing, custom fixes, and handyman coordination—work in harmony. Below is a practical workflow that balances efficiency with quality.
Step‑by‑Step Workflow Overview
- Assessment: Have a specialist inspect the walls, TV placement, and exterior to identify all required tasks.
- Design & Planning: Draft a master plan that sequences mounting, washing, repairs, and finishing touches.
- TV Wall Mounting: Execute first to secure the central piece of your living space.
- Pressure Washing: Clean exterior surfaces immediately after mounting to prevent any moisture damage during installation.
- Custom Home Fixes: Address cracks, leveling, and other interior issues while paint dries or before it starts.
- Finishing Touches: Install trim, baseboards, and final fixtures once all surfaces are smooth.
- Final Inspection: Verify that every component meets your standards and local codes.
This sequence reduces rework, protects sensitive electronics, and ensures a polished end result. A comprehensive handyman service will adapt the plan to fit your timeline and budget constraints. For example, if rain is forecast during the week of pressure washing, the team can shift that task earlier or opt for indoor cleaning alternatives.
What’s the most critical factor you consider when deciding whether to DIY or hire professionals for home upgrades?Blending expert mounting, meticulous surface preparation, and precise interior repairs into a single coordinated effort saves time and money. By entrusting each phase to specialists who understand how they interconnect, you guarantee that the final result is functional, durable, and visually appealing.


