
How Do I Find Reliable Emergency Handyman Services for Minor Roof Repairs, Deck Maintenance, and Drywall Patching?
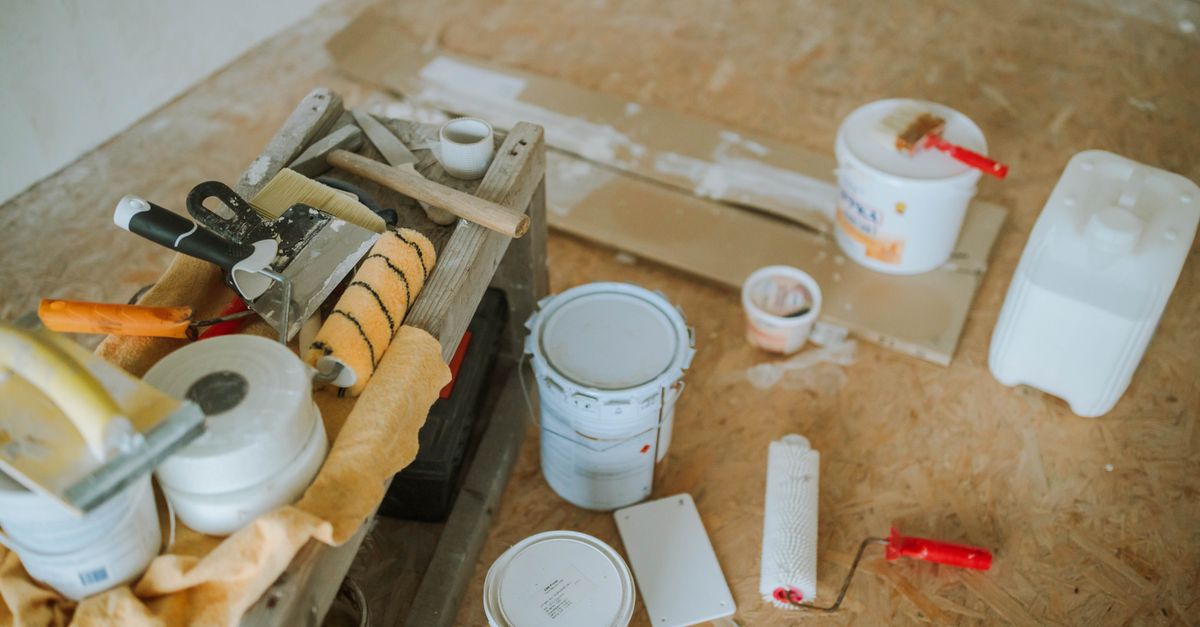
I’ve balanced a startup, full‑stack projects, and teaching kids to build birdhouses. When the night brings a leaky roof or cracked wall, I need a fast, affordable, trustworthy fix. This guide shows what to look for in emergency handymen, how professionals save time, and practical steps for minor roof repairs, deck upkeep, and drywall patching.
Why Emergency Handyman Services Matter When Home Repairs Go Wrong
A sudden leak or broken window can derail your day. Quick action limits damage and keeps costs down. Here are five reasons to keep an emergency handyman on speed dial:
1. Immediate Damage Control
Water that seeps in can trigger mold within 24‑48 hours. Rapid intervention stops spread, preserving structure and insulation.
2. Prevent Escalating Costs
Small issues often grow into major repairs—improper drywall patches can lead to structural failures if the root cause remains unchecked.
3. Time‑Sensitive Situations
During winter or storms, delays expose your home to harsh elements, complicating repairs and increasing safety risks.
4. Peace of Mind for Busy Families
A professional on call lets you focus on work or family without worrying about a growing crisis.
5. Professional Inspection and Advice
An experienced handyman can spot hidden problems that may not be obvious to homeowners, preventing future surprises.
I learned the value of reliable service after spending hours in my kitchen with a leaking roof—once a pro arrived within two hours, I could resume my day.
How to Pick Experienced Home Repair Specialists
Not all handymen are equal. Use these criteria when selecting specialists:
1. Licenses and Insurance
Verify contractor’s license and ask for general liability insurance plus workers’ compensation.
2. Years of Local Experience
A team familiar with local codes, weather patterns, and community expectations offers smoother communication and faster resolution.
3. Transparent Pricing
Reputable specialists provide written estimates with itemized costs before starting work, avoiding hidden fees.
4. Positive Reviews and Referrals
Check Google or Yelp and ask neighbors for referrals; look for comments on punctuality, workmanship quality, and follow‑up service.
5. Availability for 24/7 Calls
Emergency situations don’t respect business hours. Confirm an emergency hotline, response time promises, and whether they have on‑site staff or a dispatch system.
6. Portfolio of Past Projects
Before‑and‑after photos show skill level and attention to detail. A diverse portfolio—roof repairs, deck renovations, drywall work—indicates versatility.
Key takeaway: The most reliable specialists combine proper licensing, local knowledge, transparent pricing, and a proven track record of quick, quality work.Minor Roof Repairs – What You Should Know
Roof damage is the top reason homeowners call emergency handymen. Approach it with these steps:
Step 1: Assess Quickly
Spot leaks, missing shingles, or sagging sections. Use a flashlight and ladder safely—secure the ladder on stable ground and wear non‑slip shoes.
Step 2: Secure the Area
If you can’t reach the roof safely, cover exposed water with a tarp to protect interiors. A simple 10×12 tarp tied down with bungee cords holds back rain long enough for help.
Step 3: Call an Experienced Specialist
A pro brings proper tools and materials—shingles, sealants, flashing—to fix the issue permanently and check for secondary problems like cracked flashing or damaged decking.
Step 4: Follow Up Inspection
Schedule a walk‑through after repairs to ensure watertightness before the next storm. A follow‑up call confirms no new leaks appear.
- Small shingle replacement – $200–$500
- Flashing repair – $300–$700
- Full panel replacement (minor) – $800–$1,200
I once spent a weekend replacing a cracked shingle myself; the roof leaked again because I missed flashing. Hiring an experienced specialist is worth the upfront cost and keeps your home dry.
Deck Maintenance – Keep Your Outdoor Space Safe and Stylish
A well‑maintained deck extends life, improves safety, and boosts curb appeal. Follow these steps to keep it in top shape:
1. Inspect for Rot or Cracks
Check under boards and at joints; soft spots signal water damage that can spread.
2. Clean with a Pressure Washer
A gentle wash removes dirt, mold, and mildew without harming fibers. Use 1200 psi and keep the nozzle 12 inches away to avoid gouging.
3. Reapply Sealant or Paint
Select marine‑grade sealant for UV and moisture resistance; if you prefer color, use a stain that matches the original hue—reapply every 2–3 years.
4. Tighten Loose Fasteners
Screws out of place can shift, creating uneven surfaces that increase tripping hazards.
5. Replace Damaged Boards Promptly
A single rotten board can become a safety hazard; replace it before damage spreads.
6. Install Proper Drainage Paths
Ensure water runs off rather than pools; consider French drains if necessary. A slope of 1/8 inch per foot toward an outlet keeps moisture from lingering.
7. Add Lighting for Evening Use
Solar LED strips reduce trip hazards and create an inviting atmosphere—easy to install without wiring.
8. Schedule Annual Inspections
Set a yearly reminder; during each inspection check for sagging boards, loose railings, or new moisture damage.
Typical maintenance costs: cleaning ($150–$300), sealant reapplication ($200–$400), board replacement ($500–$1,000). Ignoring early rot can lead to $800 repairs—avoidable with routine care.
Drywall Patching – Quick Fixes for Everyday Cracks
Cracked drywall is common where kids play or furniture moves. A simple patch restores integrity and looks.
Tools You’ll Need:
- Drywall saw or utility knife
- Joint compound (mud)
- Putty knife (6‑inch or larger)
- Sandpaper (120–150 grit)
- Drywall tape (fiberglass or paper)
- Primer and paint for touch‑ups
- Masking tape to protect surrounding areas
Procedure:
- Prep the Area. Cut out loose drywall around the crack, leaving a clean square or rectangle. This creates a stable base and stops further cracking.
- Apply Tape. Place tape over cut edges. If using paper tape, apply a thin layer of joint compound first; fiberglass tape can be glued directly with a light coat of mud.
- Add Joint Compound. Spread a smooth layer over the taped area, feathering to blend with the wall. Apply at least two coats, allowing each to dry 12–24 hours.
- Let Dry and Sand. Allow 24 hours for curing, then sand until level. Use a sanding block to avoid gouging surrounding paint.
- Prime and Paint. Apply primer over the patch; wait to dry before matching the wall with paint. This seals the compound and ensures color consistency.
Typical DIY cost: $30–$60 for materials. Hiring a professional might run $200–$400, depending on size. A quick touch‑up during a gathering saved us from a costly contractor appointment later that week.
Wrapping It All Up
The common thread across all tasks is the value of reliable, experienced help at your fingertips. Whether it’s an emergency roof leak or routine deck upkeep, knowing which specialists to call and what steps to take saves time, money, and stress.
I keep a small repair kit—shovel, sealant, tape, spare screws—in my garage closet with a portable flashlight for nighttime jobs. It lets me act before a minor issue becomes an emergency.Remember: the right handyman can turn a potential disaster into a simple fix. Keep their contact information handy and don’t wait until a leak or crack forces a last‑minute scramble.
What’s the most common repair in your home that you wish you had handled sooner?


