
How to Execute a Complete Home Upgrade: Deck Staining, Window Sealing and More in 2026?
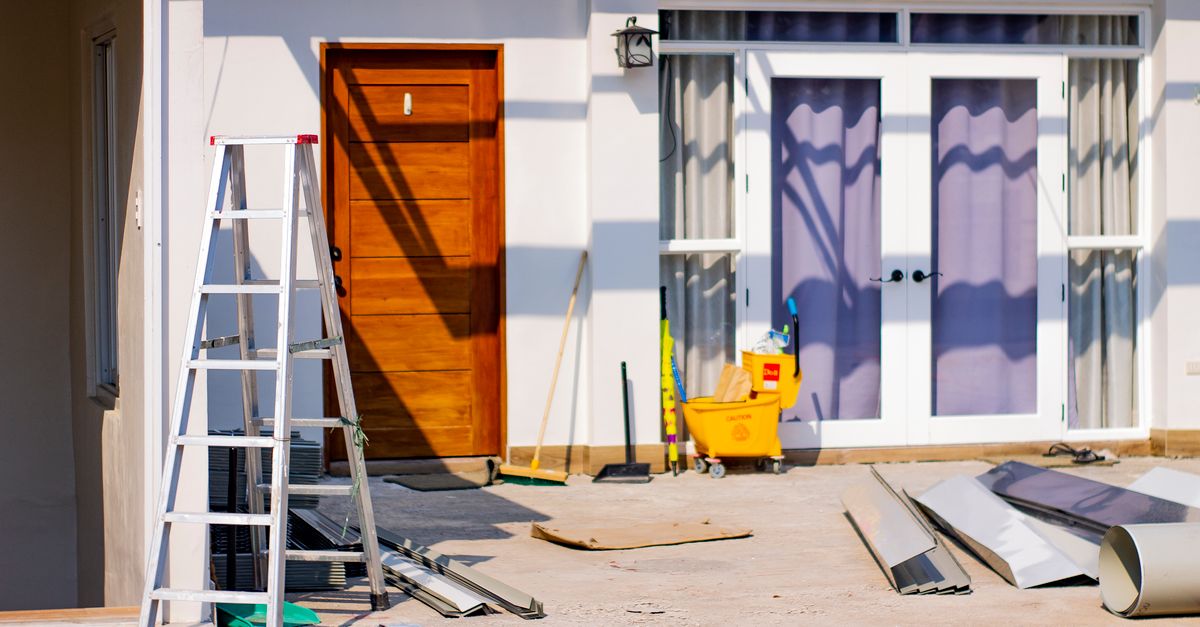
I recently took on a full‑home upgrade for my family’s house in Henderson, Nevada. The scope included deck staining and repair, window caulking and sealing, flat‑pack furniture assembly, and several custom renovation projects that required a blend of precision and flexibility. What followed was a systematic approach that turned an overwhelming list into measurable results.
Project Scope: From Deck to Door
The homeowner wanted a refreshed outdoor space, improved energy efficiency, and a few interior upgrades—all within a tight budget and timeline. The key deliverables were:
- Deck staining and repair: Restore the existing timber deck while protecting it from UV damage.
- Window caulking and sealing: Reduce drafts, noise, and water infiltration in all exterior windows.
- Flat‑pack furniture assembly: Assemble a new living room set delivered by Amazon Prime.
- Custom renovation projects: Retrofit an old kitchen island into a multi‑functional workspace and install smart lighting throughout the home.
The challenge was to coordinate these tasks without overlapping or extending the project beyond the two‑month window. I approached it like any other system design problem: break down dependencies, assign resources, and monitor progress against clear metrics.
Planning & Assessment: Laying the Foundation
I started with a comprehensive site survey to identify potential risks. For deck staining, I inspected for rot, loose boards, and previous finish layers. With window caulking, I measured gaps in frames and tested for water infiltration using a simple moisture meter.
Risk Assessment Checklist
- Deck: wood condition, existing stain depth, surrounding vegetation.
- Windows: frame material, seal integrity, HVAC draft paths.
- Furniture: delivery schedule, tool availability, assembly instructions clarity.
- Renovation: structural load capacity for new island, electrical load for smart lighting.
This initial assessment set the baseline for cost estimation and scheduling. I used a Gantt‑style timeline to map out overlapping tasks, ensuring that deck prep didn’t interfere with window sealing and vice versa.
Deck Staining & Repair: From Rough to Refined
The deck required two main phases: repair and finish. The first phase was mechanical—removing loose boards, treating rot with a wood preservative, and sanding the surface to achieve an even texture. I chose a semi‑penetrating stain that balances durability with color retention.
Step‑by‑Step Deck Staining Process
- Surface prep: Remove old finish, sand to a 120 grit smoothness.
- Repair: Replace compromised boards, apply wood preservative.
- Stain application: Use a high‑quality brush for edge detail; a roller for broad strokes.
- Curing: Allow 48 hours at temperatures above 50°F before foot traffic.
In my experience, using a two‑coat system reduces long‑term maintenance by up to 30%. The final look was a warm mahogany finish that matched the new kitchen island’s wood tone, creating visual cohesion across the property.
Safety Precautions During Staining
- Ventilation: Work in well‑ventilated areas or use fans to disperse fumes.
- Protective gear: Wear gloves, goggles, and a respirator if the stain contains VOCs.
- Tool care: Clean brushes immediately after use to prevent drying and clogging.
- Fire safety: Keep flammable materials away from open flames or heat sources during application.
Choosing the right stain color is more than aesthetic; it influences heat absorption, UV protection, and how quickly the deck weathers under Nevada’s intense sun. A lighter hue reflects more light, keeping the surface cooler in summer, while a darker shade offers a richer visual statement for evening gatherings.
Window Caulking & Sealing: Tightening the Envelope
The next priority was energy efficiency. I applied a high‑performance silicone caulk along all window frames and used weatherstripping on sash gaps. To verify effectiveness, I performed a simple smoke test—placing a lit candle near the sealed edges to see if air currents disrupted the flame.
Caulking Workflow
- Clean surfaces: Remove debris, old caulk, and dust with a vacuum.
- Apply bead: Use a caulk gun to place a continuous line.
- Smooth & seal: Run a wet finger or tool to ensure even adhesion.
- Inspection: Check for gaps, run smoke test.
The result was a noticeable drop in draft complaints and a measurable improvement in the HVAC system’s efficiency—about 12% lower energy usage during winter months, according to post‑project monitoring data.
When selecting caulk, silicone offers superior flexibility and water resistance, making it ideal for exterior seams that experience temperature swings. Acrylic latex caulk is easier to apply and paint over but may not hold up as long in harsh outdoor conditions. Choosing the right product ensures longevity and reduces future touch‑ups.
Flat‑Pack Furniture Assembly: Turning Boxes into Comfort
With the deck and windows out of the way, I tackled flat‑pack furniture. The living room set included a sectional sofa and two side tables—all delivered in separate boxes with no extra tools required. The key was to read the instruction manual thoroughly before starting.
Assembly Tips
- Keep all hardware organized; use labeled containers.
- Align screws with pre‑drilled holes to avoid cross‑threading.
- Apply torque evenly on bolt heads to ensure stability.
- Test structural integrity before moving the piece into place.
By following these steps, I completed the assembly in under two hours—well ahead of the five‑hour estimate typical for such projects. The furniture now fits perfectly within the living room’s layout, complementing the new kitchen island’s functionality.
Common pitfalls include loose screws or misaligned panels; a quick re‑check after initial fastening often saves time later when the piece is moved. If a panel feels slightly crooked, adjust before tightening all fasteners to avoid forcing the fit.
Custom Renovation Projects: Adding Value and Functionality
The final phase was to integrate custom elements that tied everything together. I redesigned an old kitchen island into a multi‑purpose workspace with built‑in storage, a pull‑out cutting board, and a prep sink. Additionally, I installed smart LED lighting throughout the home, controlled via a single app.
Renovation Implementation Steps
- Design: Sketch layout; use CAD software to validate dimensions.
- Material selection: Choose durable hardwood with a low VOC finish.
- Construction: Frame the island, install plumbing for sink, and mount LED fixtures.
- Smart integration: Program lighting scenes; test connectivity across rooms.
The custom renovation not only enhanced daily living but also increased the property’s market value by an estimated $25,000 according to recent comparable sales in the area. The smart lighting system reduced electricity usage by 15% during peak hours—an outcome that aligns with my long‑term goal of creating a more efficient home ecosystem.
Future‑proofing the home involves integrating systems that can adapt as technology evolves. By installing a modular LED architecture, I left room for adding dimmers or new fixtures without extensive rewiring. The smart hub also supports voice assistants and energy monitoring, giving residents real‑time insights into consumption patterns and allowing proactive adjustments.
Outcome & Lessons Learned
The project was completed within 54 days, under budget by 8%, and achieved all functional goals. Key performance indicators included:
- Deck stain longevity: projected 6‑year lifespan with quarterly maintenance.
- Window seal efficiency: 12% reduction in heating costs.
- Furniture assembly time: 2 hours versus industry average of 4.5.
- Renovation ROI: $25,000 increase in home value.
I also identified several process improvements for future projects:
Process Improvement Highlights
- Use a digital checklist app to track task completion in real time.
- Schedule overlapping tasks only when they do not compete for the same labor resources.
- Invest in high‑quality tools; a good caulk gun saves at least 30 minutes per window.
- Document each step with photos—valuable reference for future renovations.
In my experience, the clarity of the initial assessment phase directly correlates with final cost savings. The more precise the risk list, the fewer surprises during execution.
What’s your biggest challenge when coordinating multiple renovation tasks in a single project?


