
Tile and Grout Repair – A Practical Guide for Homeowners
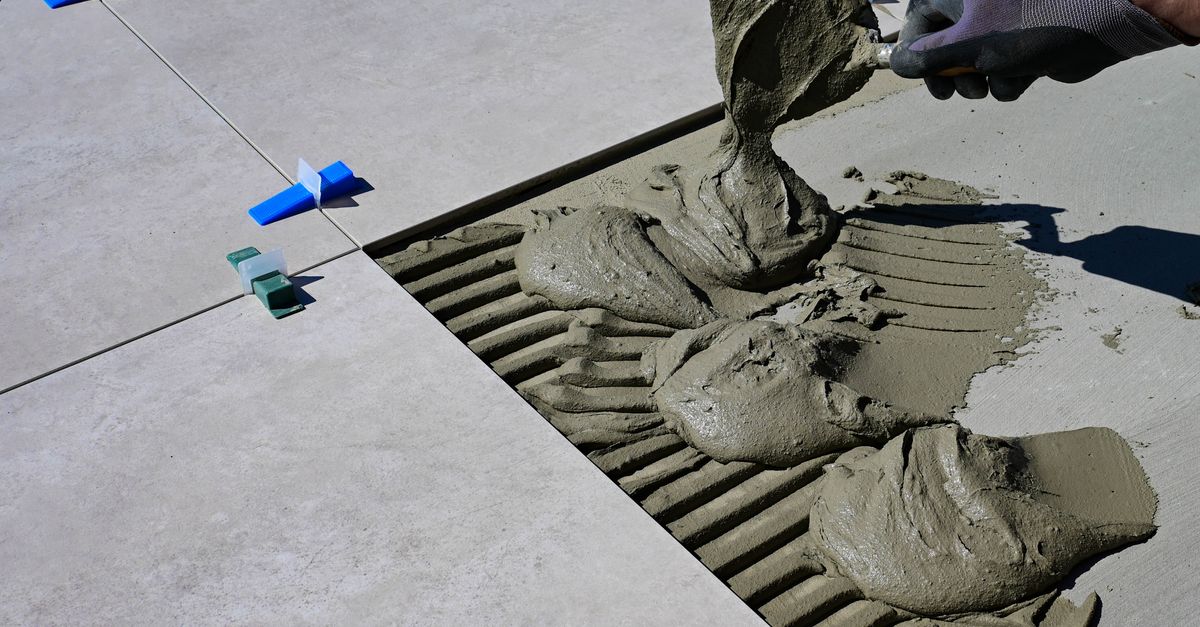
I’ve spent the last decade building systems that streamline maintenance, so when a client walks into my office with cracked tiles and dingy grout, I see it as a data point: a problem to be solved efficiently. Tile and grout repair is one of those tasks that can either become a DIY headache or a quick professional fix—depending on how you approach it.
Tile and Grout Repair Overview
Tiles are the foundation of most bathrooms, kitchens, and entryways. Grout, the mortar between tiles, seals the surface against moisture and stains. Over time, wear, improper installation, or water damage can cause cracks, mold, and discoloration. The goal of tile and grout repair is to restore the aesthetic and functional integrity without replacing entire walls.
In practice, a well‑executed repair involves three core steps: cleaning, regrouting, and sealing. Each step has its own set of tools and best practices that can be executed by a homeowner or a professional contractor. Additionally, understanding the type of grout you’re working with—sanded for larger joints, unsanded for finer lines—helps in selecting the right mix and achieving a seamless finish.
When to Call a Professional vs DIY
Deciding whether to tackle tile repair yourself or hire an expert hinges on three factors: scale, skill level, and safety. Below is a quick decision matrix I use when advising clients.
Decision Matrix for Tile Repair
- Scope of Damage: Minor cracks in one area – DIY is feasible. Multiple walls or structural issues – Professional help is recommended.
- Skill Level: If you’ve never sanded a wall or mixed mortar, the learning curve can lead to uneven results.
- Tools Availability: Proper tools—like a grout float, sealant gun, and tile cutter—are pricey. Renting or buying may offset the cost of hiring a pro.
In my experience, homeowners often underestimate how much time a DIY repair takes versus a quick professional visit. A single skilled contractor can finish a full bathroom in 4‑6 hours, whereas a novice might spend an entire weekend.
Common Causes of Tile Damage and Prevention
Understanding the root causes helps you avoid future repairs. The most frequent culprits include:
- Moisture Infiltration: Poor sealing or gaps allow water to seep behind tiles, leading to mold.
- Improper Installation: Uneven tiles create stress points that crack over time.
- Heavy Impact: Dropping heavy objects on a tile can shatter it or dislodge grout.
- Aging Materials: Grout loses elasticity after 10–15 years, especially in high‑traffic areas.
Preventive measures are simple: use a high-quality waterproof sealant, keep the area dry, and avoid heavy impact on tiles. When buying new tile, choose a product with a higher compressive strength rating if you anticipate heavy foot traffic or furniture placement. Adding silicone caulk at trim lines and ensuring proper expansion joints also extend tile life.
Step‑by‑Step Process for Tile and Grout Repair
Below is an efficient workflow that reduces waste and ensures a professional finish.
Repair Workflow
- Assessment: Inspect the damaged area for cracks, mold, or loose tiles. Mark the zone with painter’s tape to define boundaries.
- Cleaning: Use a stiff brush and mild detergent to remove grime. For moldy grout, apply a bleach solution (1:10 water) and scrub thoroughly, then rinse.
- Removing Old Grout: A manual or power grout saw removes the compromised mortar. Wear safety goggles and a mask; dust can be hazardous.
- Drying: Let the surface dry completely (at least 24 hours) to ensure new grout adheres properly.
- Mixing Grout: Follow manufacturer instructions—usually a 1:4 water-to-grout ratio. Mix until a smooth, peanut‑butter consistency is achieved, avoiding lumps that can trap air.
- Applying Grout: Use a rubber float to press grout into joints at a 45° angle. Remove excess by holding the float at a 90° angle and wiping with a damp sponge, then trim any over‑filled areas with a razor blade for a clean line.
- Curing: Allow grout to set for 12–24 hours, then apply a sealant to protect against stains and moisture. A penetrating sealer is recommended for porous grouts; apply two coats if the product specifies.
In my experience, the biggest mistake homeowners make is rushing the curing process. Patience here translates into long‑lasting results and fewer touch‑ups down the line.
Choosing the Right Grout Color & Texture
The grout’s color can either blend seamlessly with your tiles or create a striking contrast. For subtlety, match the grout to the tile shade; for accent work, choose a slightly darker tone. Textured grouts are ideal for large, visible joints as they hide minor imperfections, while smooth finishes look cleaner in smaller spaces.
When to Replace Tiles Instead of Repairing
If tiles show extensive cracking, warping, or if the backing has been compromised by water damage, replacement is often more cost‑effective than patchwork. Replacing a few damaged tiles can be done quickly and eliminates the risk of future failures in that area.
Interior Painting Services: Enhancing Your Space
A fresh coat of paint can transform a room’s feel—especially when paired with properly repaired tile. When selecting interior painting services, consider:
- Primer Selection: Use a high‑coverage primer on previously patched surfaces to prevent staining.
- Finish Type: Matte finishes hide imperfections; satin or semi‑gloss offer durability in bathrooms and kitchens.
- Color Psychology: Lighter hues expand small rooms, while deeper shades add coziness. Coordinate with tile color for a cohesive look.
Professional painters bring the right brushwork and spray techniques that reduce paint waste—a factor I often highlight when advising clients on budget management. They also recommend moisture‑resistant latex paints in high‑humidity areas to safeguard both walls and newly repaired tiles from future dampness.
Drywall Patching Basics
While tile repair is often the first line of defense, drywall issues can also compromise a space’s appearance. Common drywall problems include:
- Pinhole Cracks: Small fissures that appear after settling.
- Large Holes: From dropped items or accidental knocks.
The patching process is straightforward:
- Cut a clean square around the hole using a drywall saw.
- Attach a backing board (furring strip) to provide support.
- Apply joint compound, feathering edges for seamless integration.
- Sand after drying and prime before painting.
In my experience, most homeowners underestimate the sanding phase. A rough surface can cause paint to peel later on.
Light Fixture Replacement: Safety First
Replacing a faulty light fixture is more than aesthetics; it’s a safety imperative. Key steps include:
- Turn Off Power: Use a voltage tester to confirm the circuit is de‑energized.
- Remove the old fixture carefully, noting wiring connections.
- Match the new fixture’s voltage and wattage requirements.
- Secure electrical connections with wire nuts and cover plates.
For those who are not comfortable working with electricity, hiring a licensed electrician is the best practice. In my experience, DIY replacements often result in loose wiring or exposed contacts—hazards that could be avoided with professional assistance.
Professional Property Upkeep Checklist
A holistic approach to maintenance keeps your home looking sharp and reduces emergency repairs. Below is a concise checklist I recommend for homeowners:
- Monthly: Inspect grout seals, check light fixture bulbs, clean HVAC filters.
- Quarterly: Test smoke detectors, inspect roof flashing, trim tree branches near eaves.
- Biannually: Deep‑clean tile and grout with a high‑grade cleaner, reseal if needed.
- Annually: Conduct a full drywall inspection for cracks, replace any loose fixtures.
In my experience, clients who adopt this checklist report a 30% reduction in unplanned repair expenses over three years. The key is consistency—small tasks performed regularly keep the larger ones at bay.
What is your biggest challenge when maintaining tile surfaces, and how have you addressed it?


